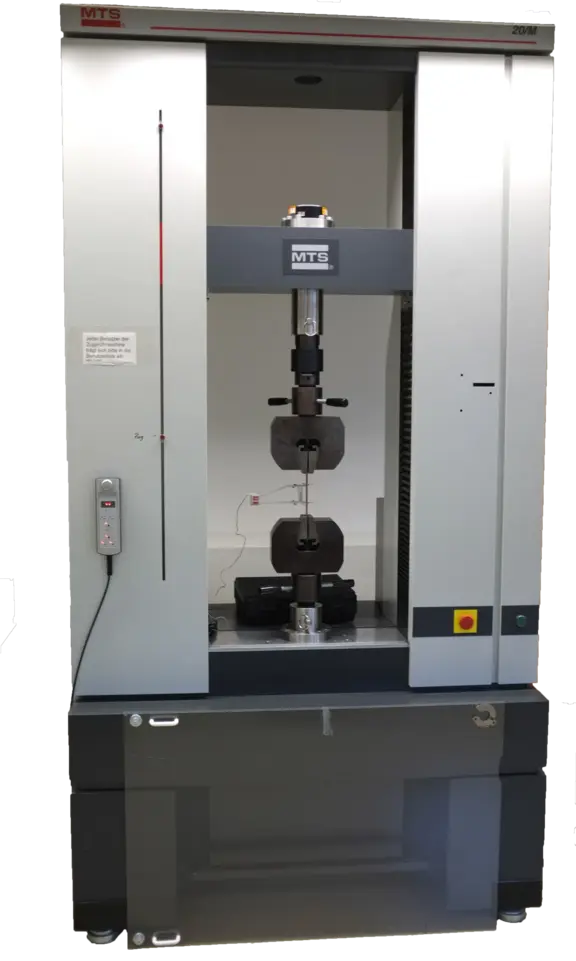
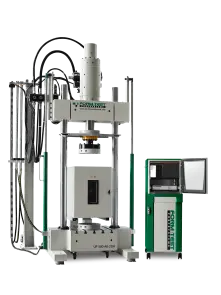
Within the project, standardized destructive testing is carried out in order to be able to determine corresponding material parameters. For this purpose, we have testing equipment at the Umwelt-Campus Birkenfeld and the Université du Luxembourg.
The tests to be performed are

An electromechanical universal testing machine is available to perform tensile/compression tests. In the tensile test, a specimen with standardized dimensions is loaded rapidly until it breaks. From the measured force and the associated elongation of the specimen, the flow curve is determined as the evaluation basis for basic material properties.
Technical data:
MTS 20/M two-column machine with spindle drive
Test force: 100 kN in tensile and compression direction
Accuracy: 0.5% of the displayed value or 0.01 of the maximum value
Fine strain measurement for round and flat tensile specimens
Accuracy: 0.001 mm resolution at 25 mm travel
Automated control, testing and evaluation methods

For highly stressed components, it is of particular importance to consider cyclic loads. Various viscoplastic material models are required for the computational prediction of service life. In order to determine the material parameters of these models, which describe the material behavior under operating conditions, appropriate tests must be carried out under cyclic loading.
Technical data:
Form+Test UP 500 AK-2DH
static test force: ± 630 kN
dynamic test force: ± 500 kN
Measuring accuracy: Class 0.5 according to DIN EN ISO 7500-1
The toughness of a material is determined in the notched bar impact test. In a pendulum impact tester, a specimen with standardized dimensions is deformed or crushed by the pendulum hammer. The work consumed is determined as the difference between the drop and rise angles of the pendulum hammer, taking into account its mass, and is a measure of the toughness of the material.
Technical data:
AMSLER pendulum impact tester type RKP 450
Max. impact energy: 450 joules
Impact velocity: 5.23 m/s
Analog circular display with drag pointer
Electromotive lifting device with pendulum hammer release
The hardness of a material can be determined in a universal hardness testing machine by penetrating a test specimen with a defined load into the surface of the specimen or component and measuring the depth of penetration. Depending on the shape of the test specimen and the type of measurement, various standardized hardness testing methods are used.
Technical data:
INSTRON WOLPERT DIA-Testor 722
Force range 1 to 250 kp
Magnification lenses 70- and 140-fold
Analog circular display for Rockwell measurement
You are leaving the official website of Trier University of Applied Sciences