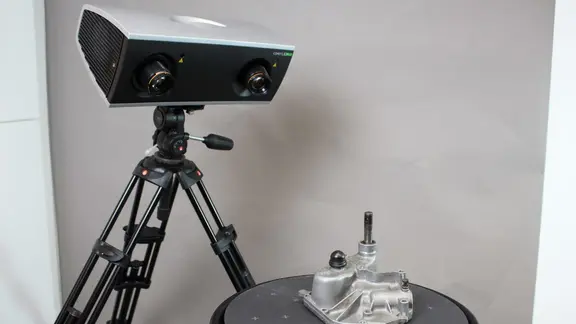
In order to be able to make a statement regarding the tolerances of the individual methods and printers, in the ComPrintMetal3D project each sample is 100% scanned with a Zeiss Comet L3d 5M 3D and thus digitized. To verify this result, a small number of samples will also be measured tactilely on the Zeiss DuraMax. From this data, a report will be created to show a direction for the different methods and devices.
To get an overview of the used devices, you can have a look at the accordion below. If you have any further questions, please do not hesitate to contact us.

The Comet L3D 5M is a scanner that captures the object by means of fringe light projection. The captured images are assembled by software support and a point cloud is obtained, which can be further processed. Click here to learn more about this device.
Possibilities for this:
The accuracy of the measuring system is 30-80 μm, depending on the measuring field used.
Location: Environmental Campus Birkenfeld

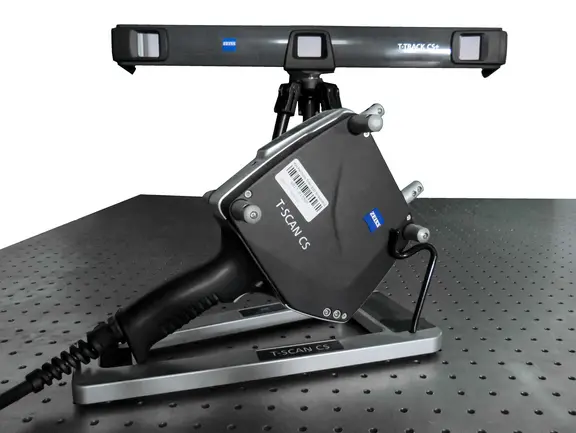
The T-Scan CS is a laser scanner that detects an object using the line intersection method. The system comprises 2 measuring units that are required simultaneously. Thus, in a working space of about 6.4 m³ images of an object can be made. The made recordings are put together by software support and one receives a point cloud which can be processed further.
Possibilities for this:
The accuracy of the system is in the range of 50μm±50μm/m.
Location: Umwelt-Campus Birkenfeld

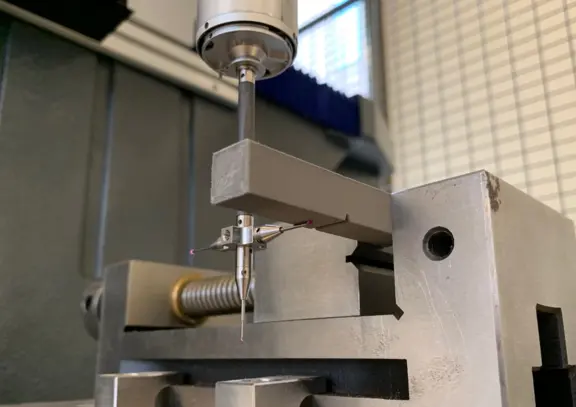
The DuraMax from Zeiss is a coordinate measuring machine for measuring surfaces in all 3 planes. Measurements with very high accuracies can be achieved via the single point measurements. Measurements can be performed manually or also CNC supported.
The length deviation is 2.7 µm+ L/250 (at 18-26°C) and the measuring range is 500x500x500 mm:
Möglichkeiten hierzu:
Location: htw saar
You are leaving the official website of Trier University of Applied Sciences